Private Networks
Virtual machines can be interconnected through a high-speed VXLAN private network.
These kind of networks can be used to ensure private and secure traffic between your application components.
For example, if you run the web application and the database in 2 separate virtual machines, they can communicate with each other through the private network.
1. Create virtual machines within a private network
Choose or create a private network
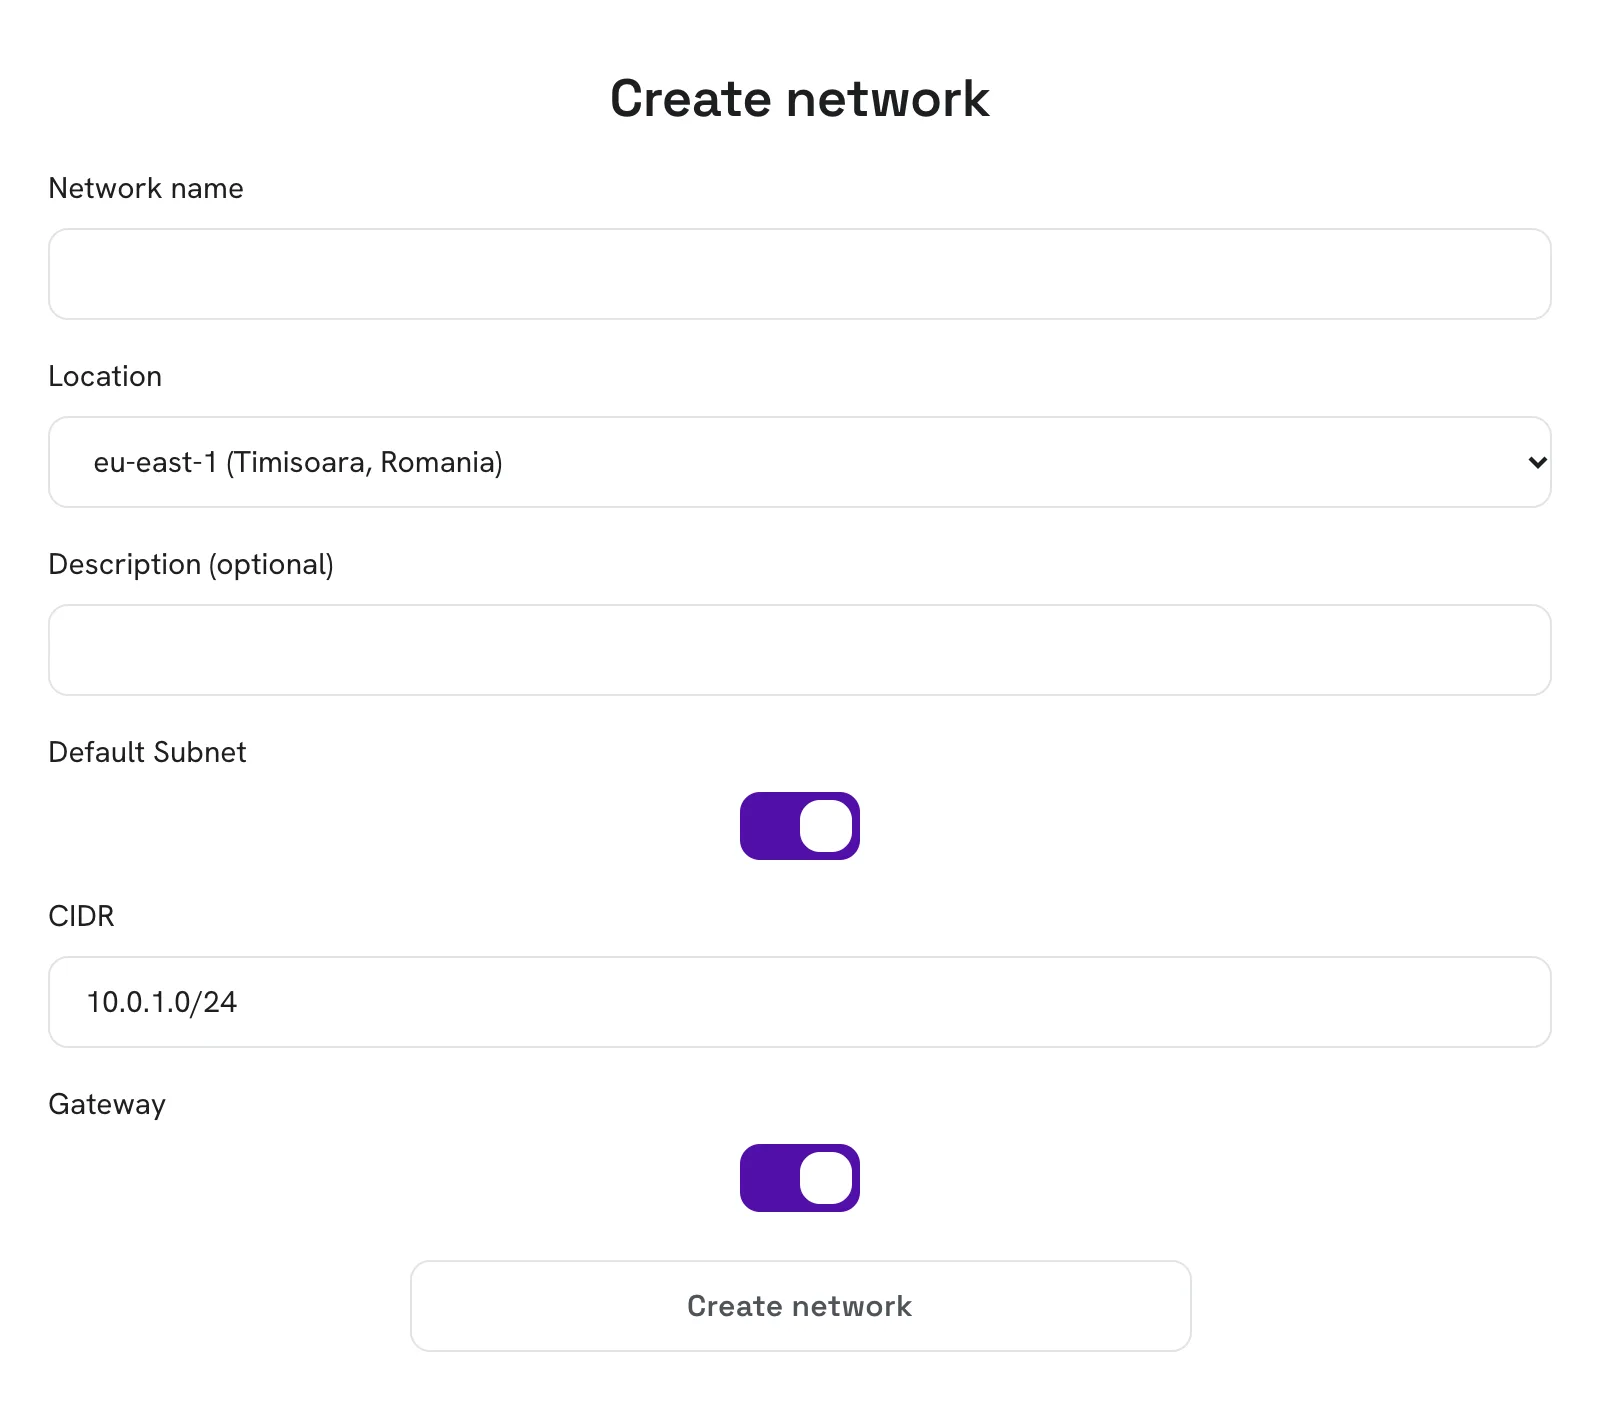
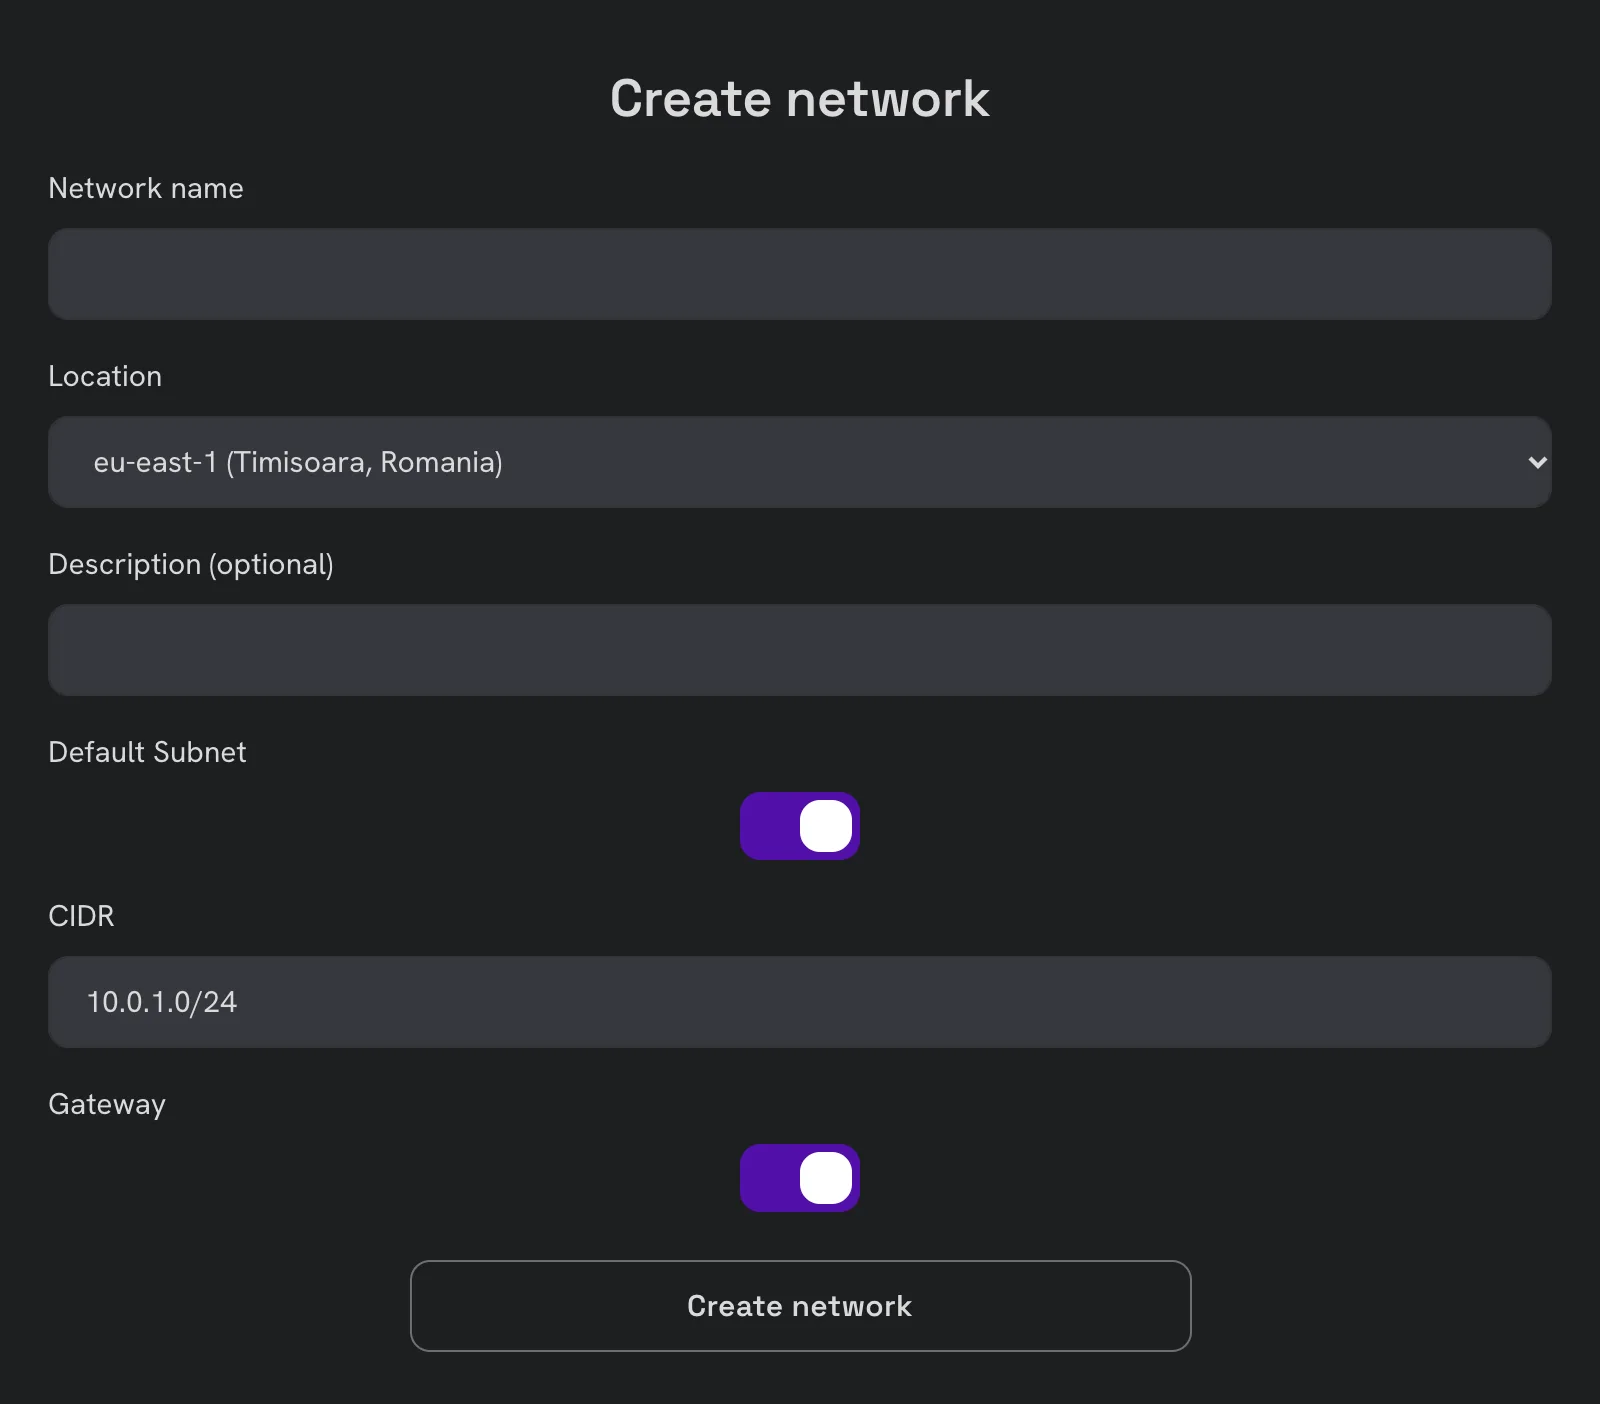
You can create a new private network straight from the server creation page. Under Private Network, choose an existing network, or click Create network to create one right away. Once created, the instance receives a network interface within that network.


To create a new network, give it a name. The other settings are prefilled: a default subnet (10.0.1.0/24) with a
gateway. You can also create networks beforehand, from Networking › Networks › Create network.
Create the virtual machines
In this example we are going to create 2 virtual machines to demonstrate how they can communicate using the private network:
- VM1: webapp-server
- VM2: mysql-server
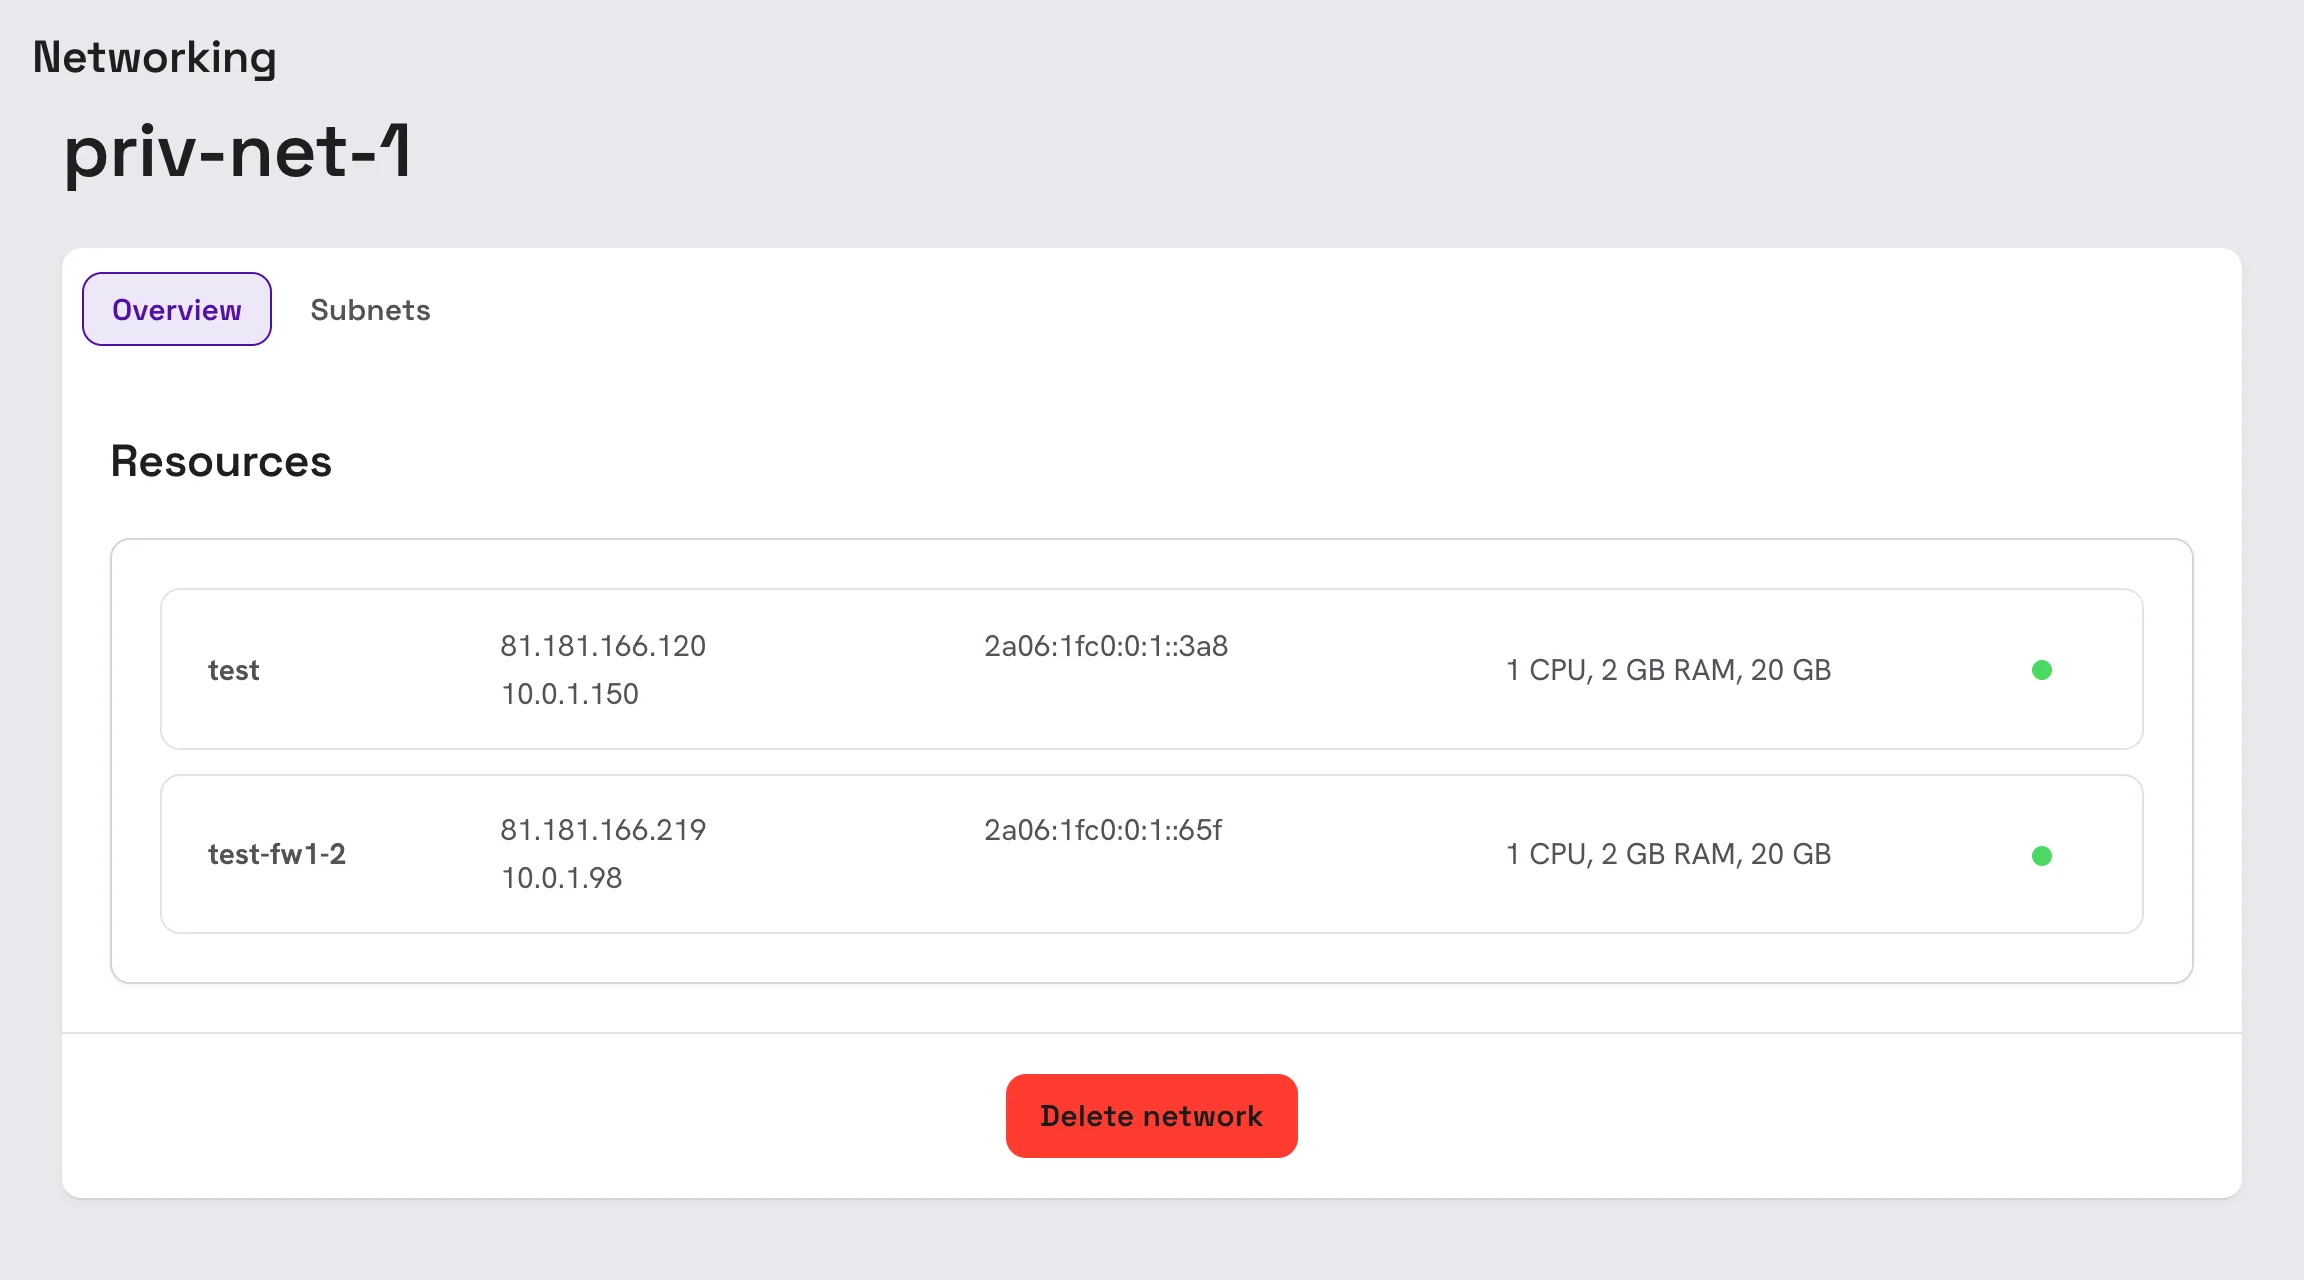
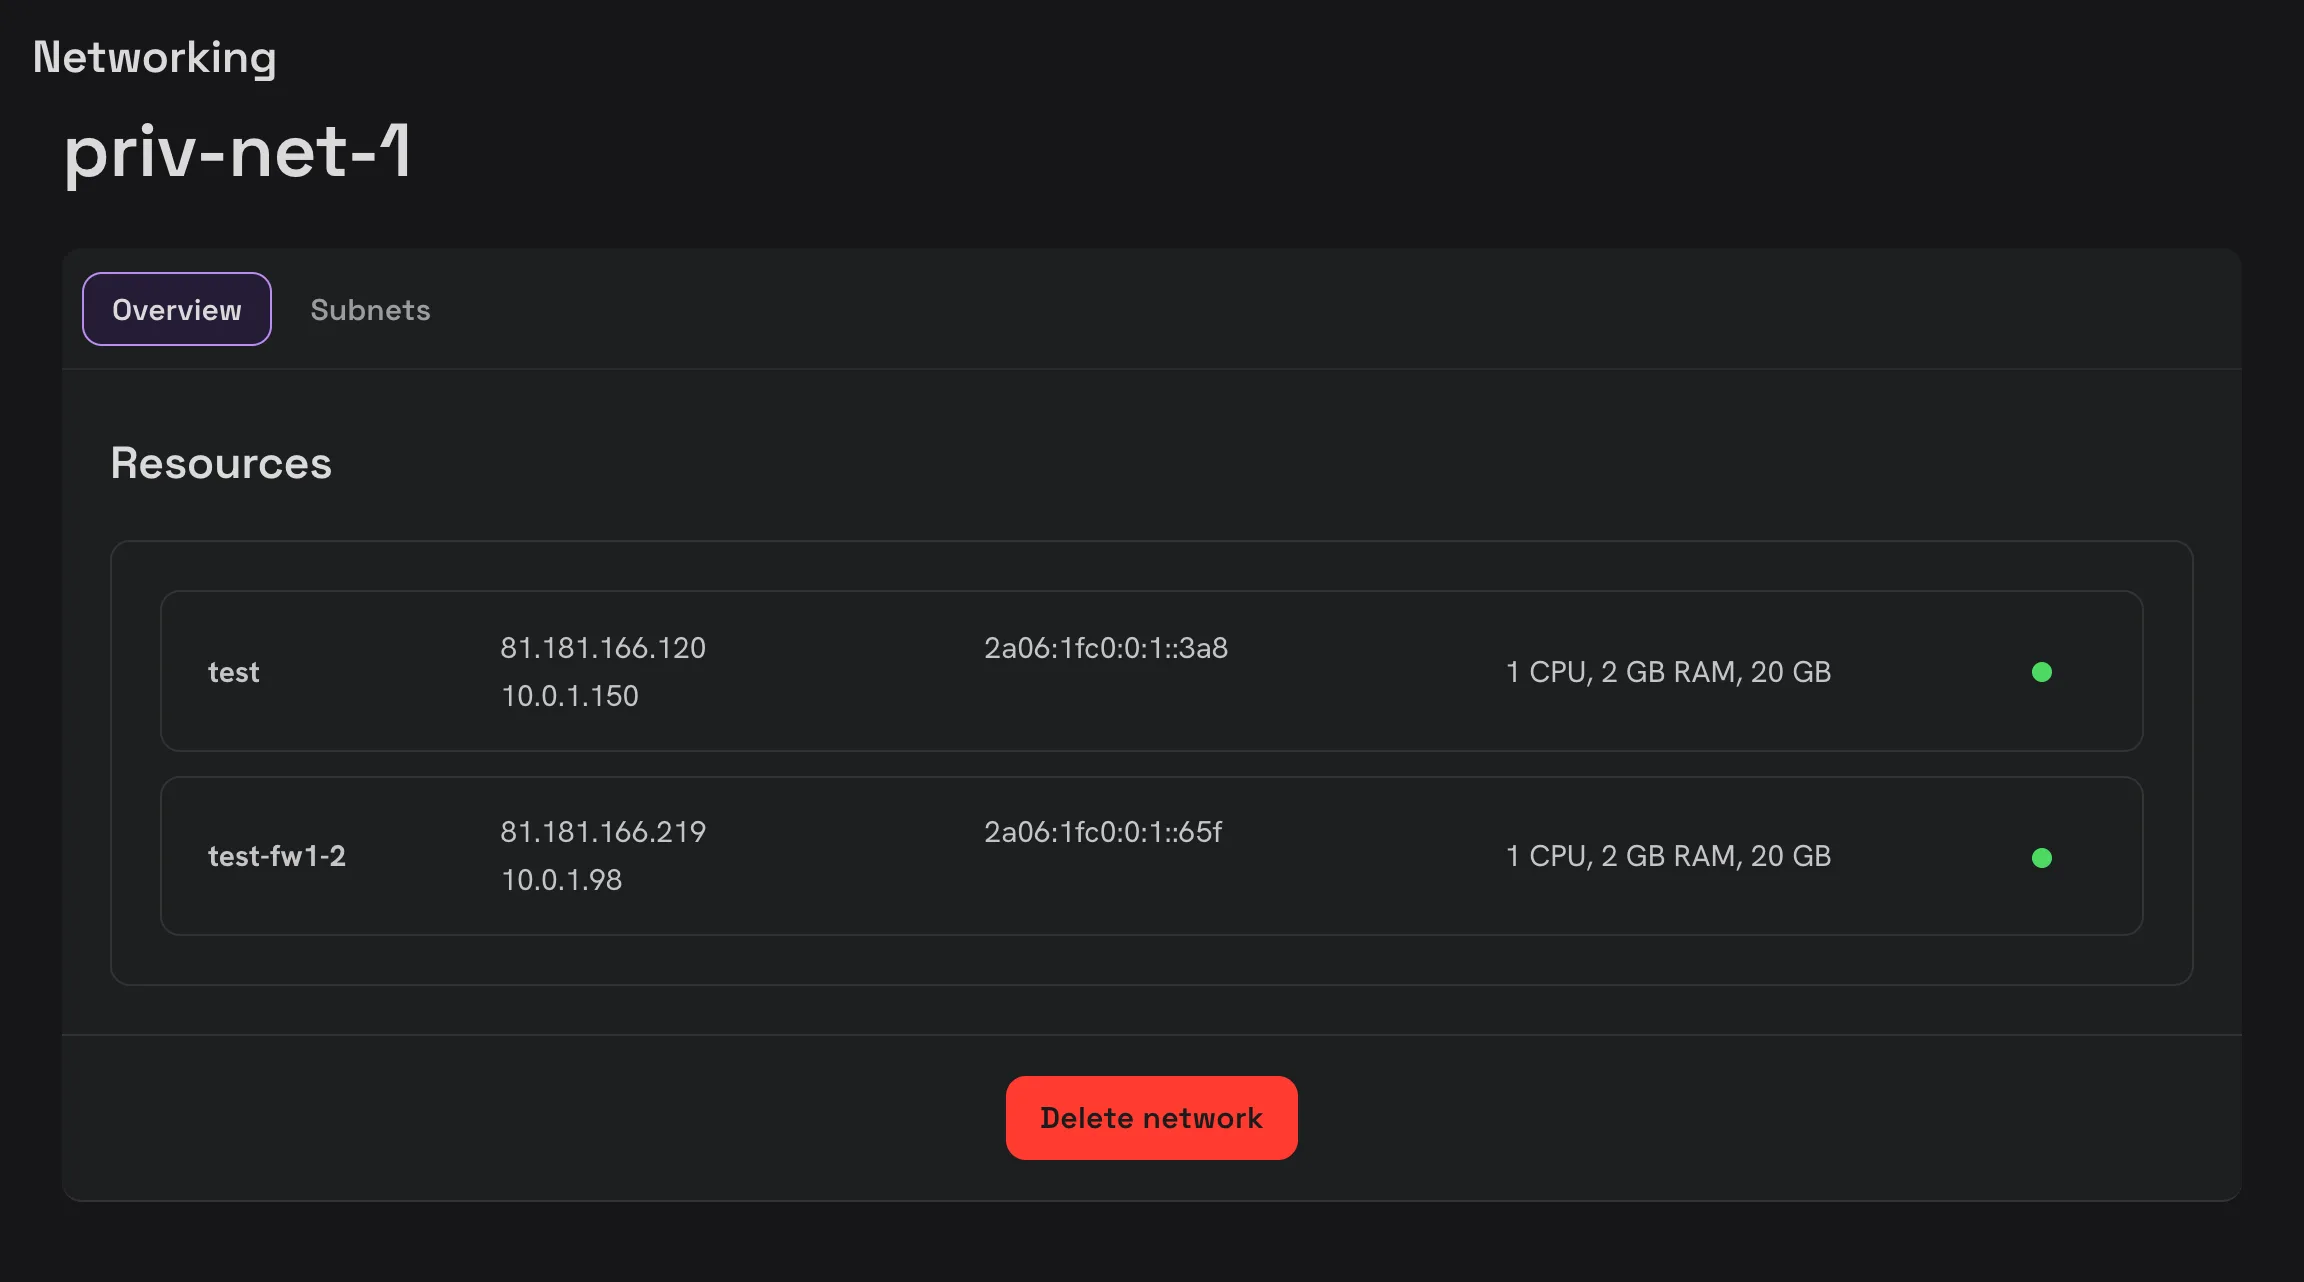
Open the network from Networking › Networks to see the machines connected to it. Each machine received a private IP besides its public IPv4 and IPv6.
Connect an existing server
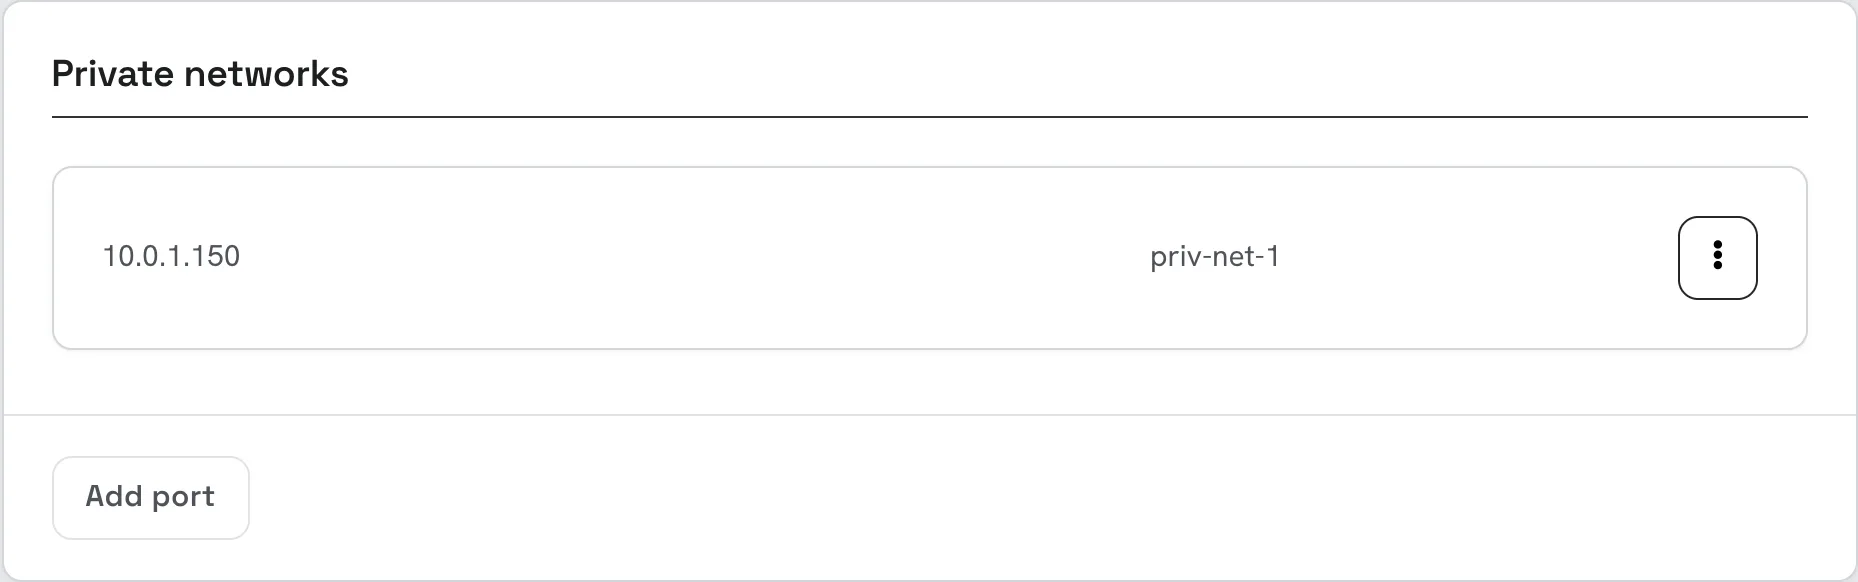
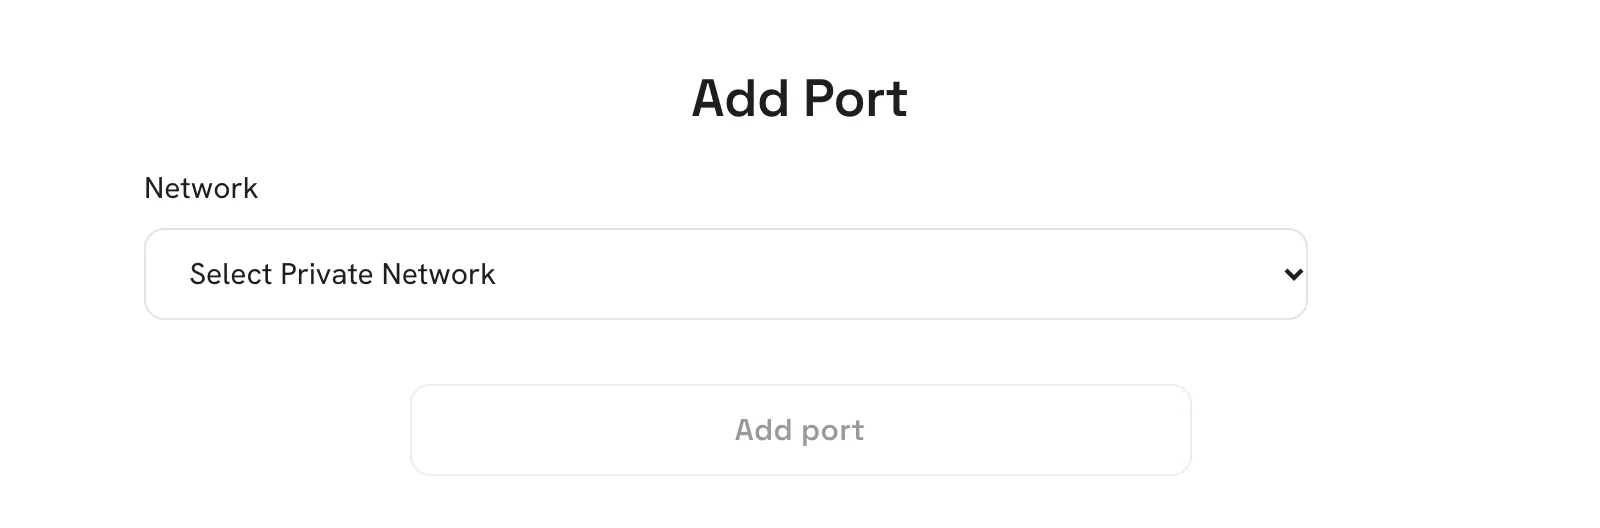
A server that already exists can join a private network too. Open the server, go to its Networking tab and, in the Private networks card, click Add port and choose the network.
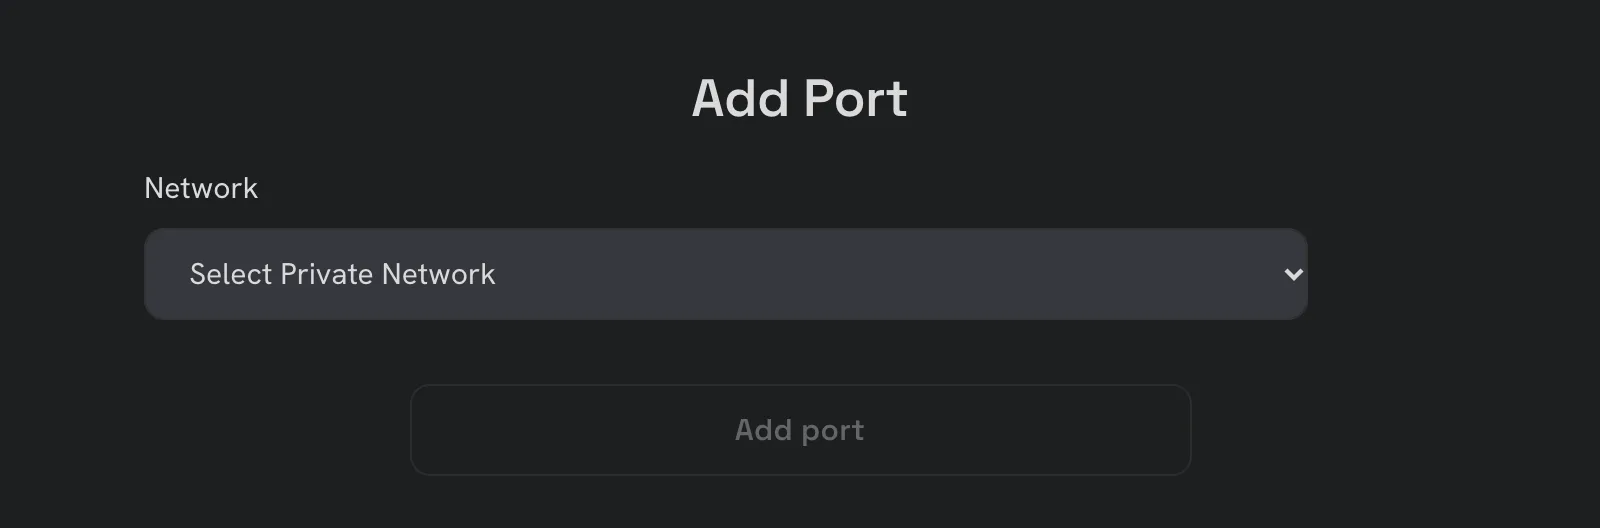
cloud-init configures network interfaces when the server boots. An interface added to a running server may need to
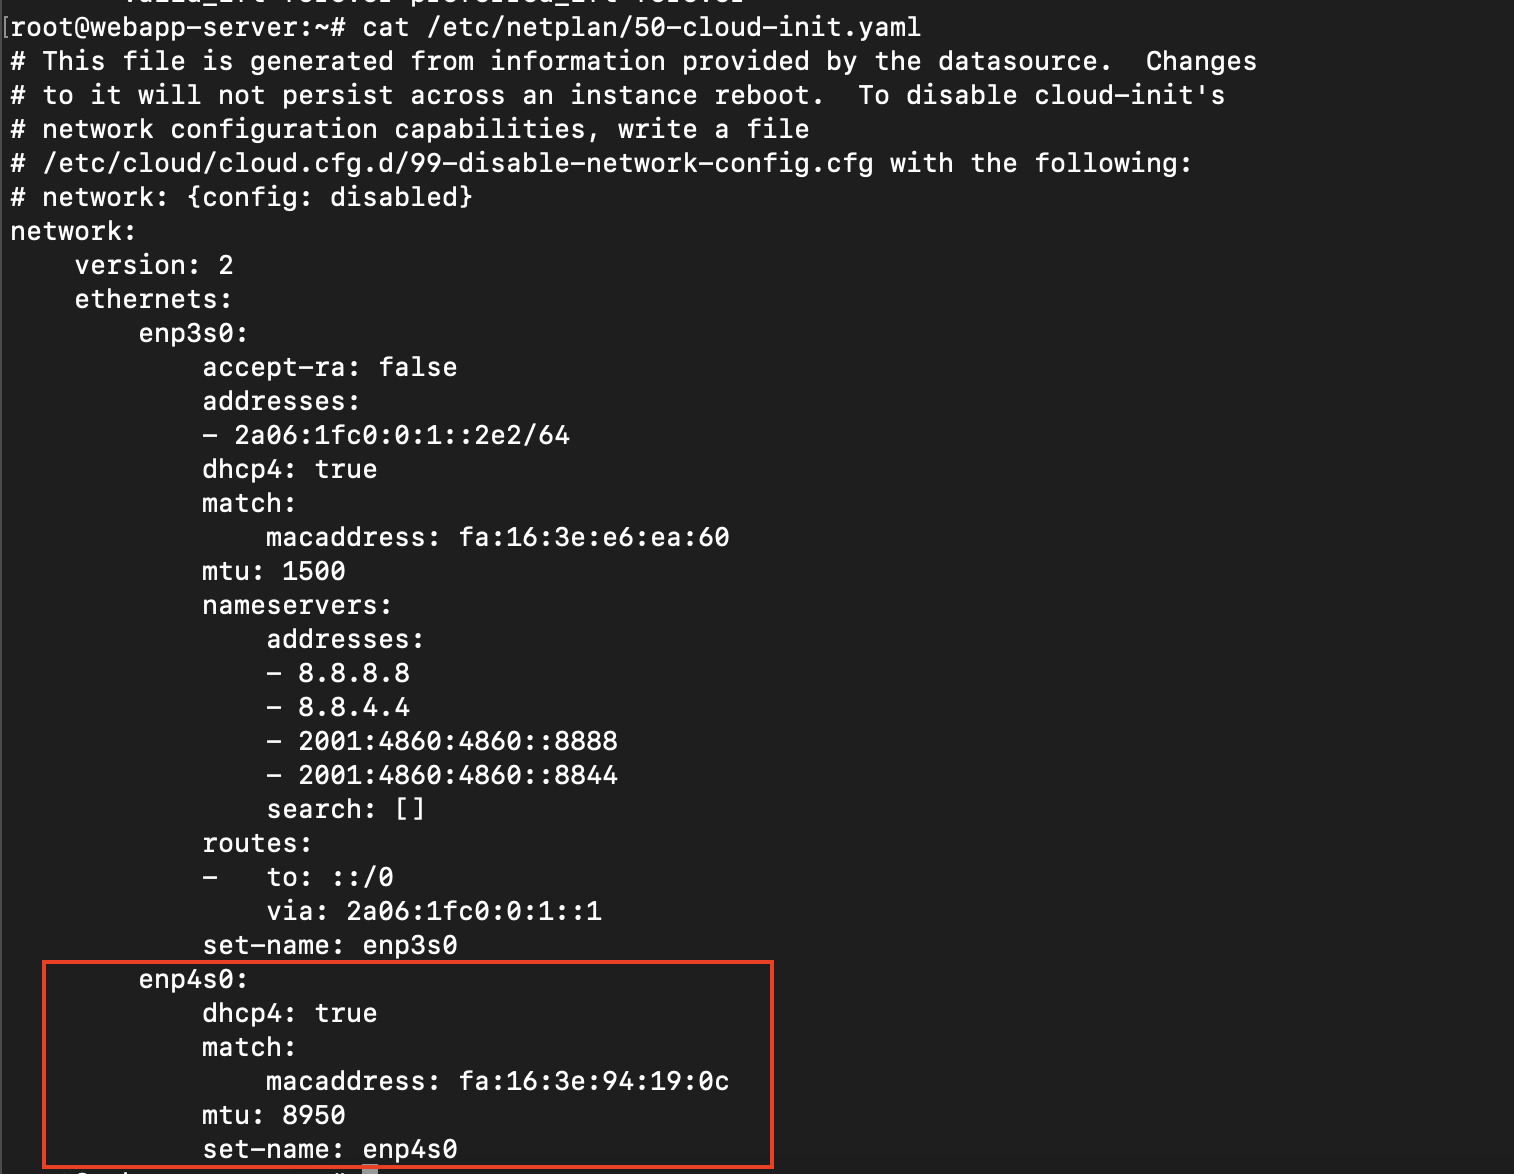
be brought up in the operating system, for example with a netplan entry using dhcp4: true, as shown below.
2. Verify the IP addresses
Let's SSH into the VM using the public IP and check the network interfaces.
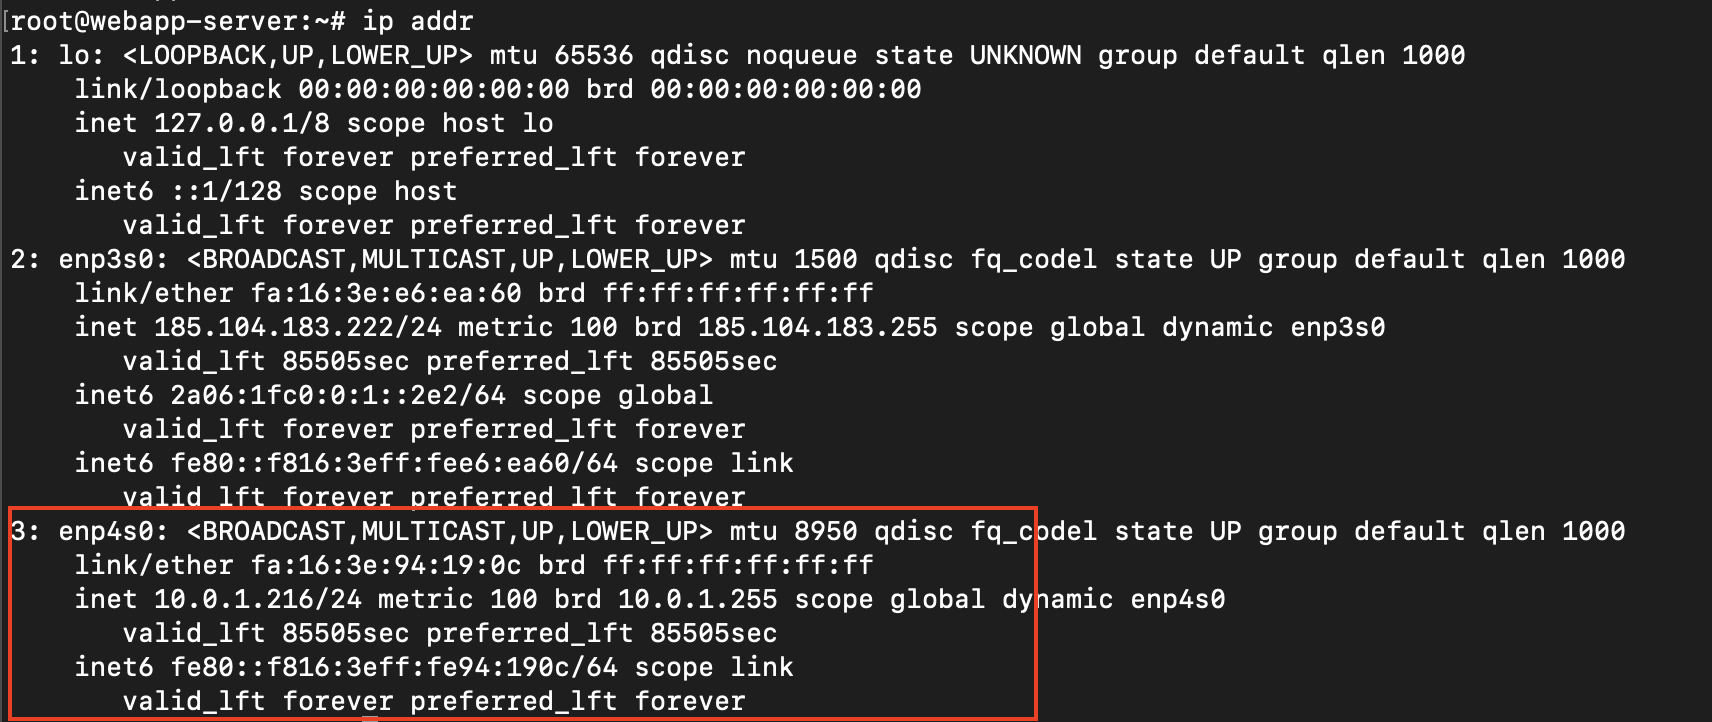
As you might notice, the cloud-init script that runs when the instance boots, automatically
configured the network interface which now has the private IP assigned to it.
That's because cloud-init automatically configures the netplan configuration file.
Since we're using Ubuntu, the netplan file is located at /etc/netplan/50-cloud-init.yaml.
Other linux distros may have this file at a different location.
3. Verify the private IP communication
For checking the communication through the private network, we're going to use ping and iperf3 commands.
Verify ping
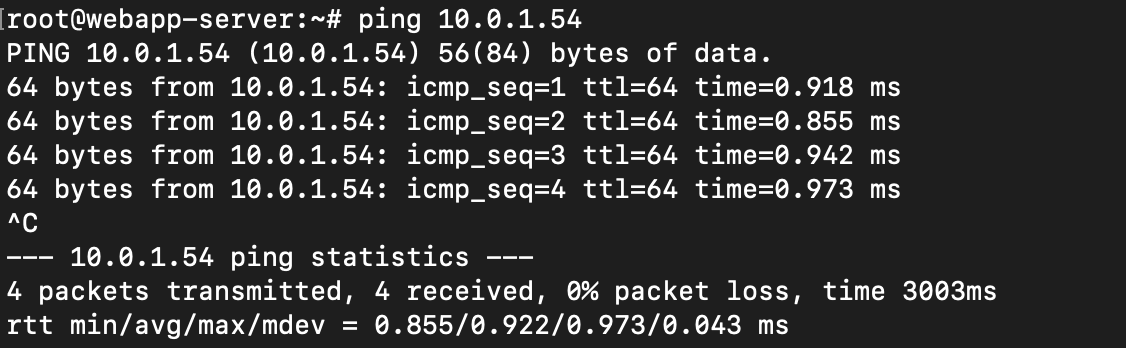
As you may notice, each ping response comes in under 1 ms thanks to the VXLAN that's deployed in the datacenter.
Verify iperf3
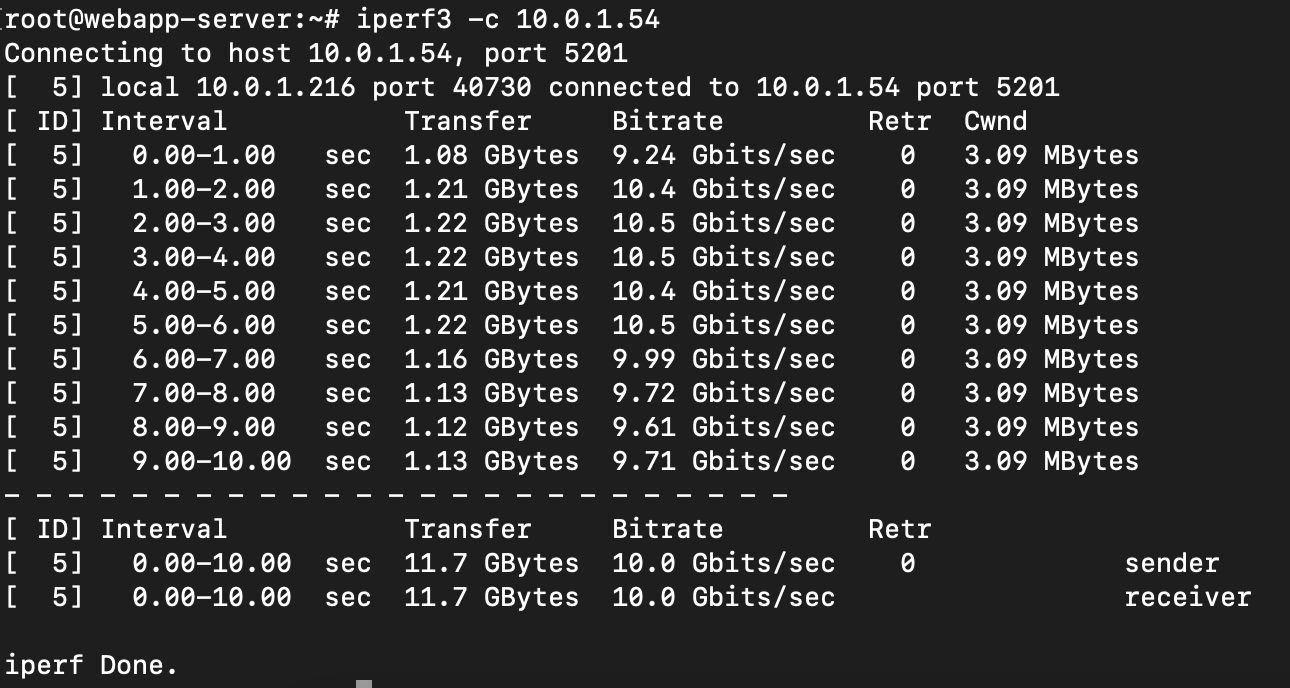
Here we demonstrate the high throughput that's offered by the private network.
You can easily reach 10 Gb/s with a single threaded iperf3 command.
Multi-threaded applications can go way beyond that.