Floating IPs
Floating IPs are no the same with Additional IPs, and they have different purpose and behaviour.
While the Additional IPs are directly attached to the instance, Floating IPs are configured at the router level
and are used proxy traffic to the private IP of an instance.
It's a kind of public IP that's being used in cloud environments where multiple machines have private-only IPs.
Requirements
- an instance with a priavate IP
- a router with an external gateway attached to it
- the private network must be added as an interface to the router
1. Create an instance in the private network#
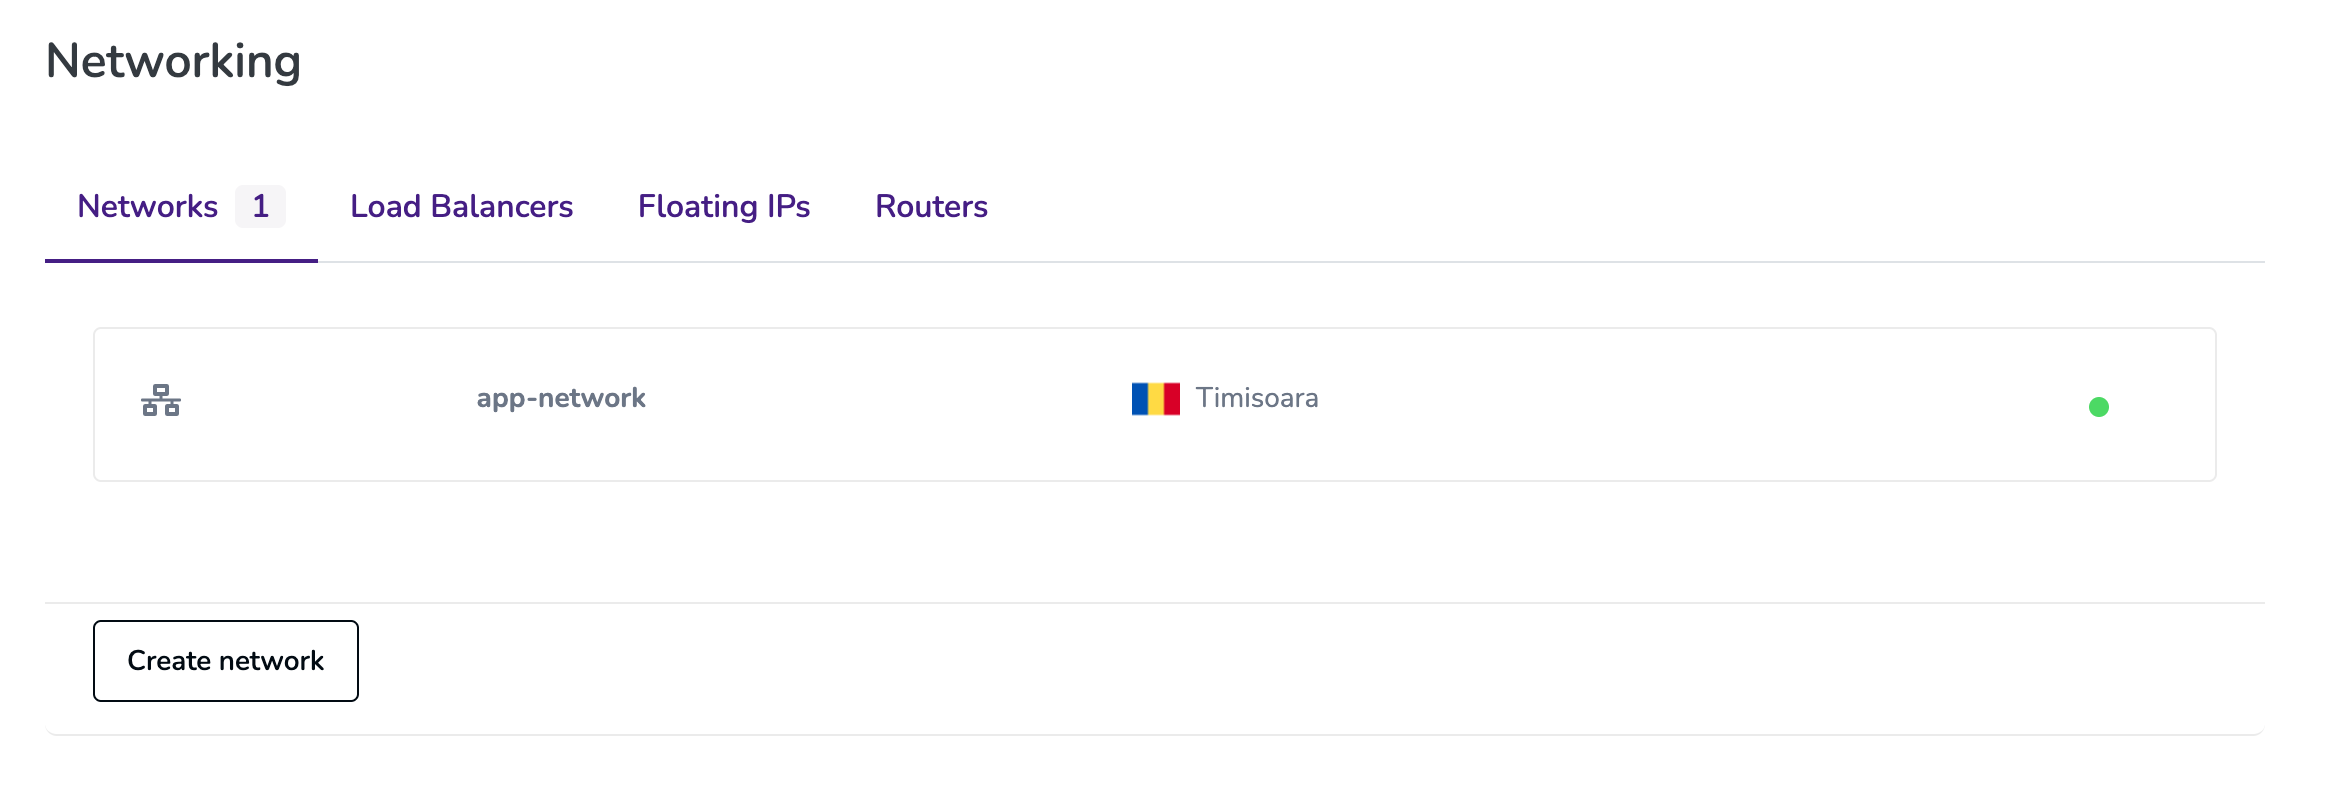
Follow the tutorial for creating an instance in a private network.
Once you have created the network, you will be able to see it in the networking section.
2. Create a router with external gateway#
Floating IPs are assigned in the virtual routers, thus you will need to create a new router that's both connected
to our public network and to your private network.
That means
- the router must have an external gateway in our public network
- the router must have an interface in your private network
Create a router#
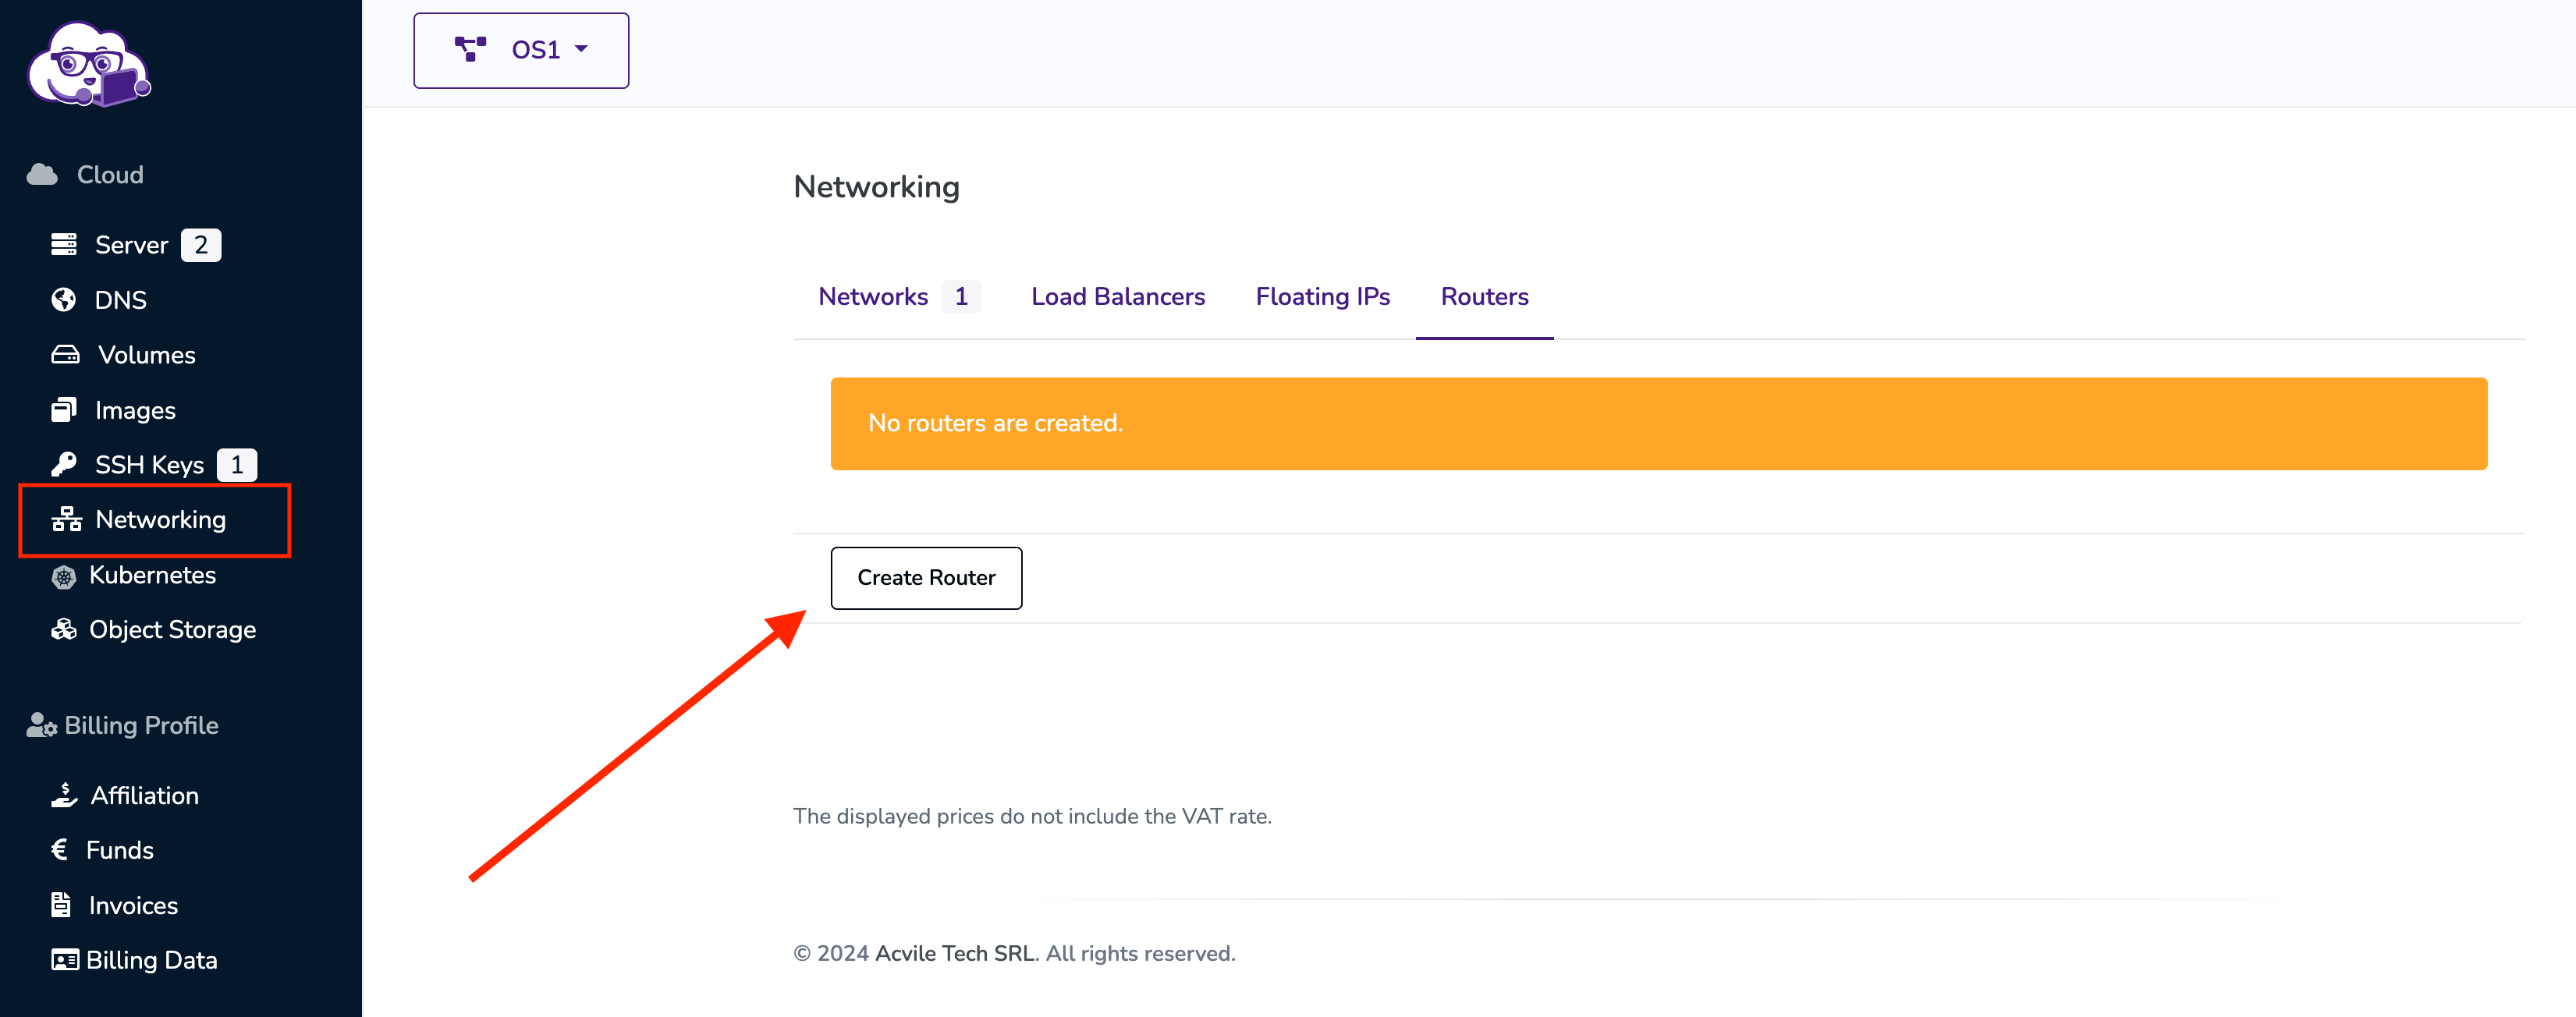
Provide a name for your router.

Now that your router has been created, we need to start creating the external gateway and the interface for it.
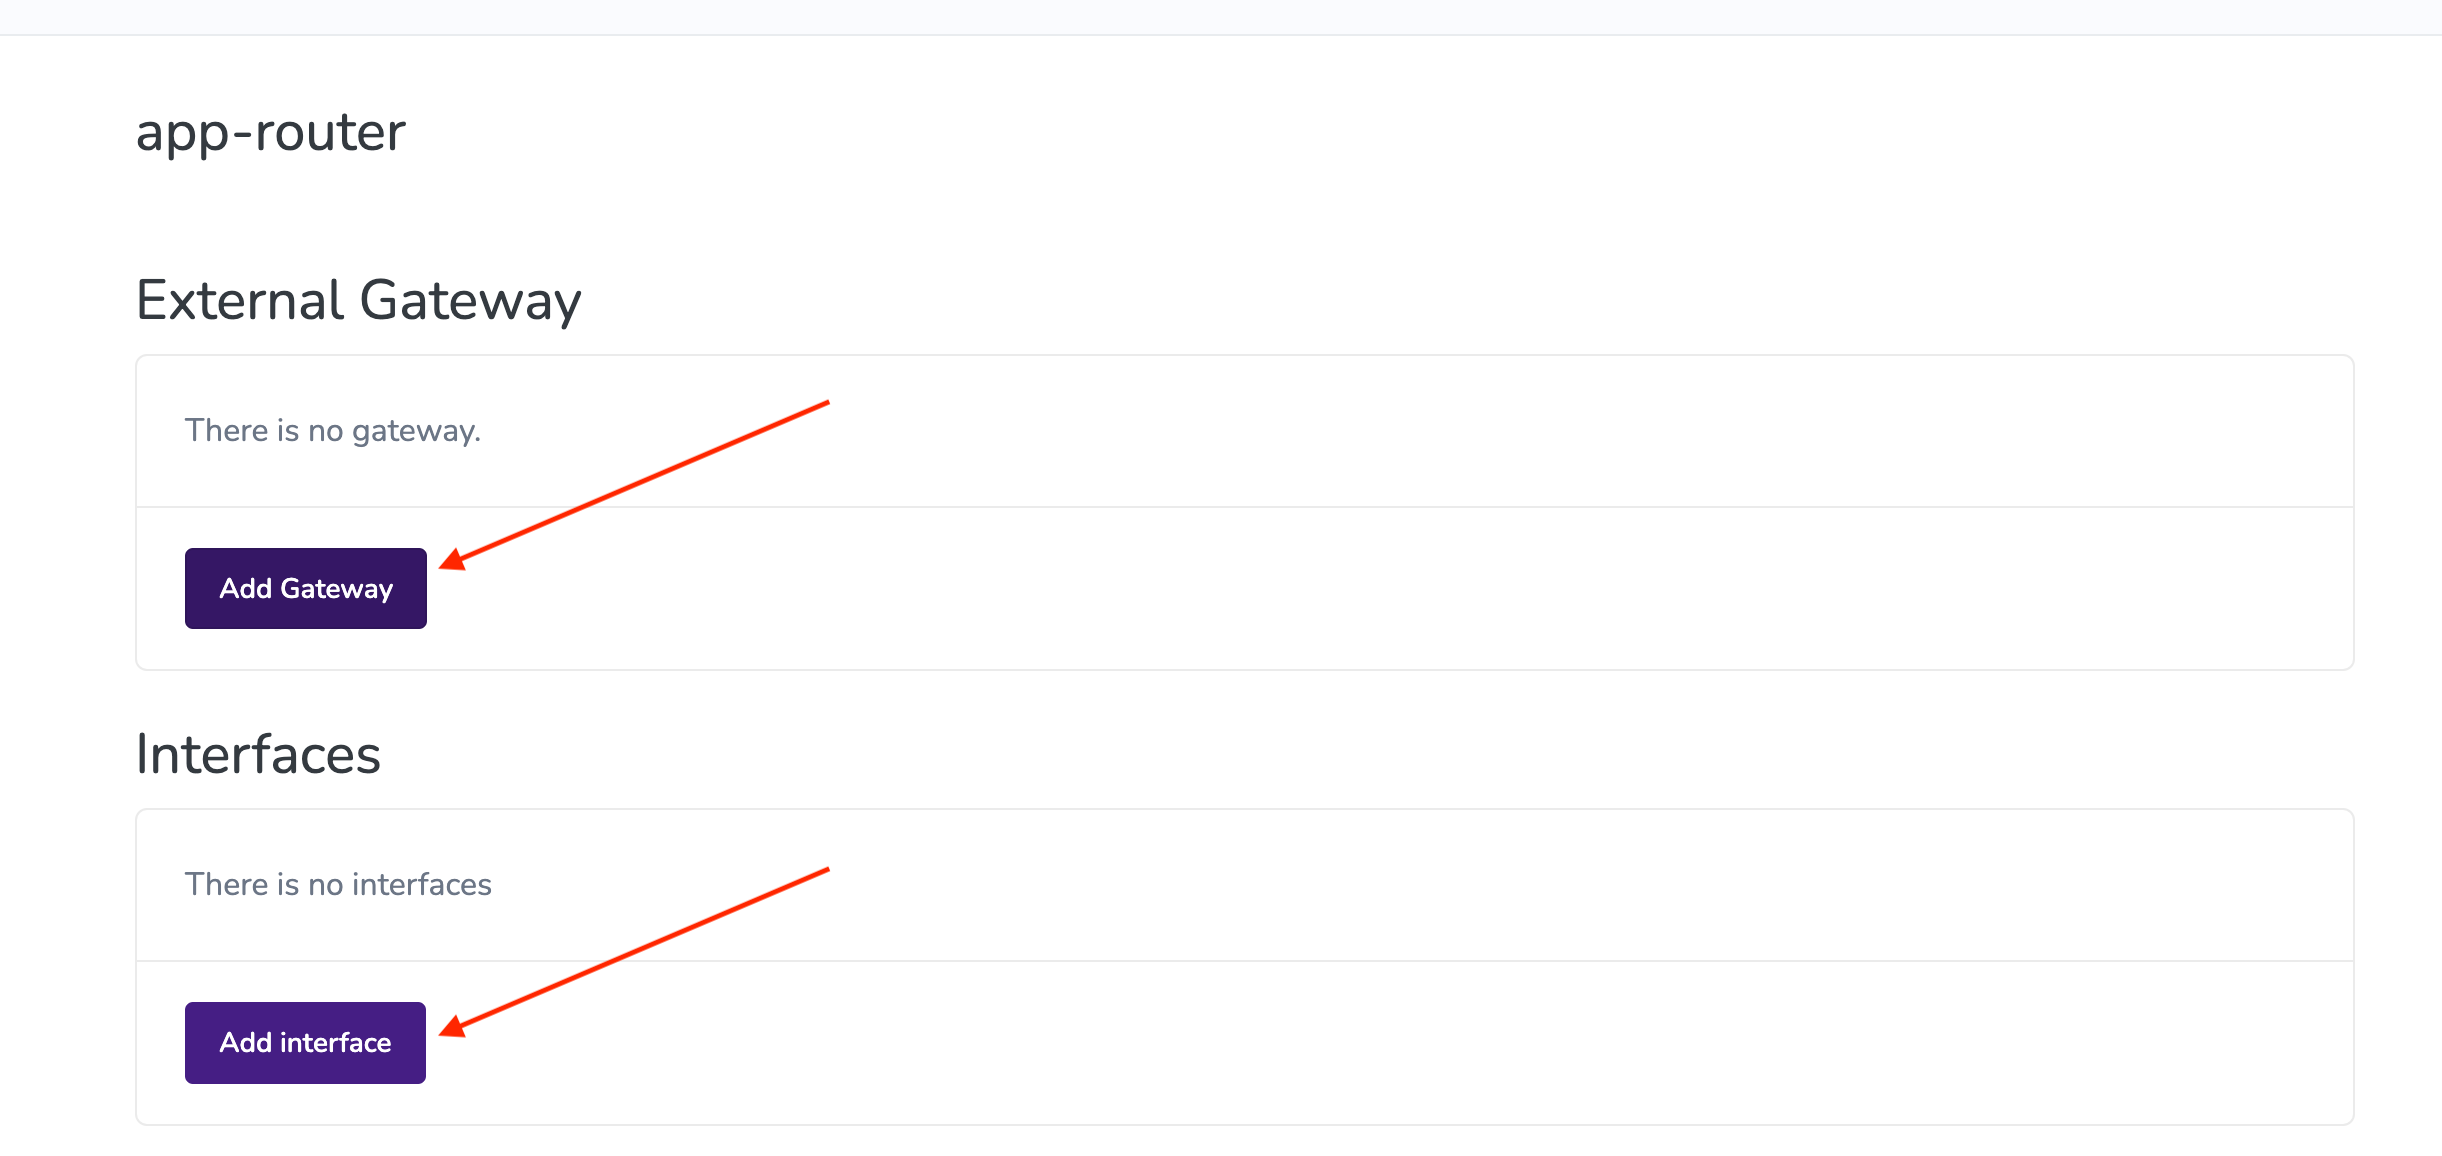
Add the external gateway#
The external gateway needs to be added on the public network.

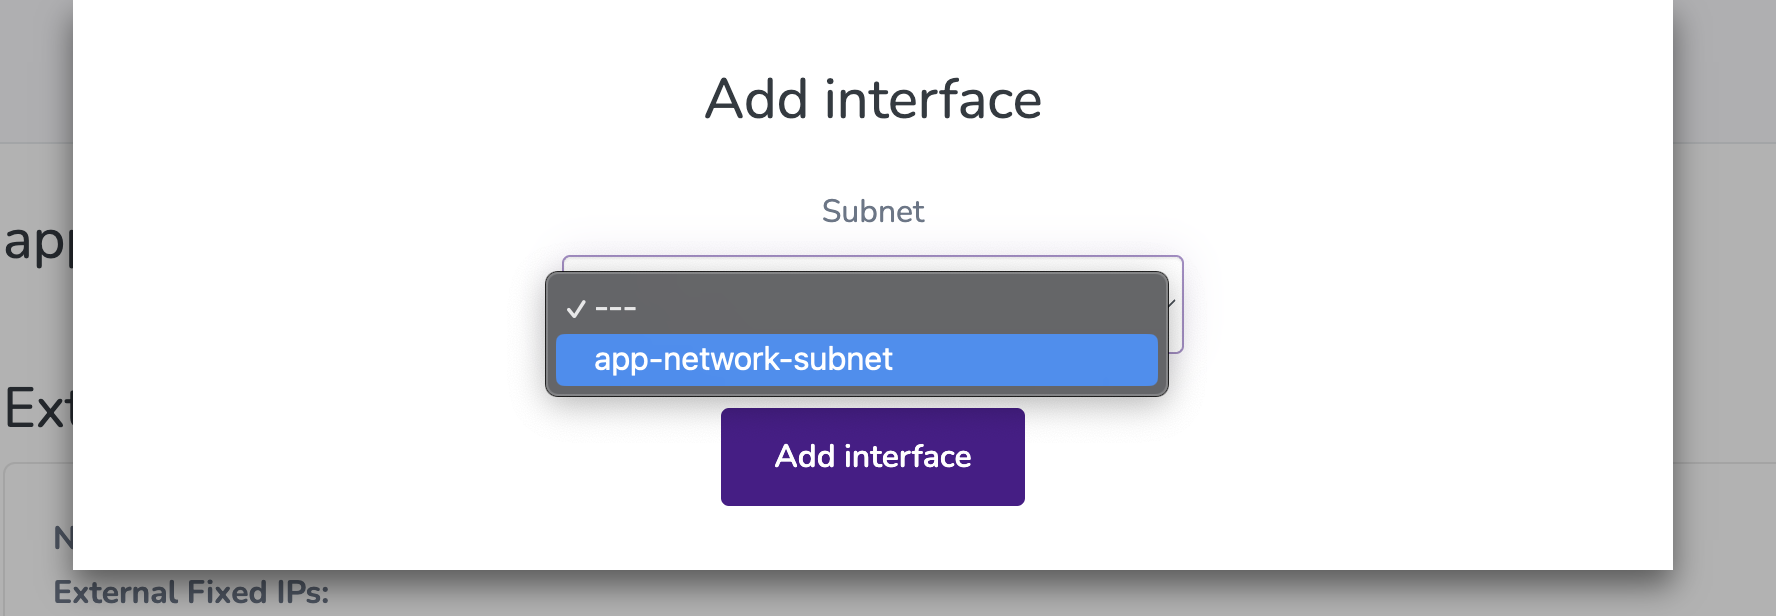
Add the router interface#
The router needs to have an interface in your private network to be able to forward the traffic between the floating IP and the private IP.
3. Attach a floating IP to the instance#
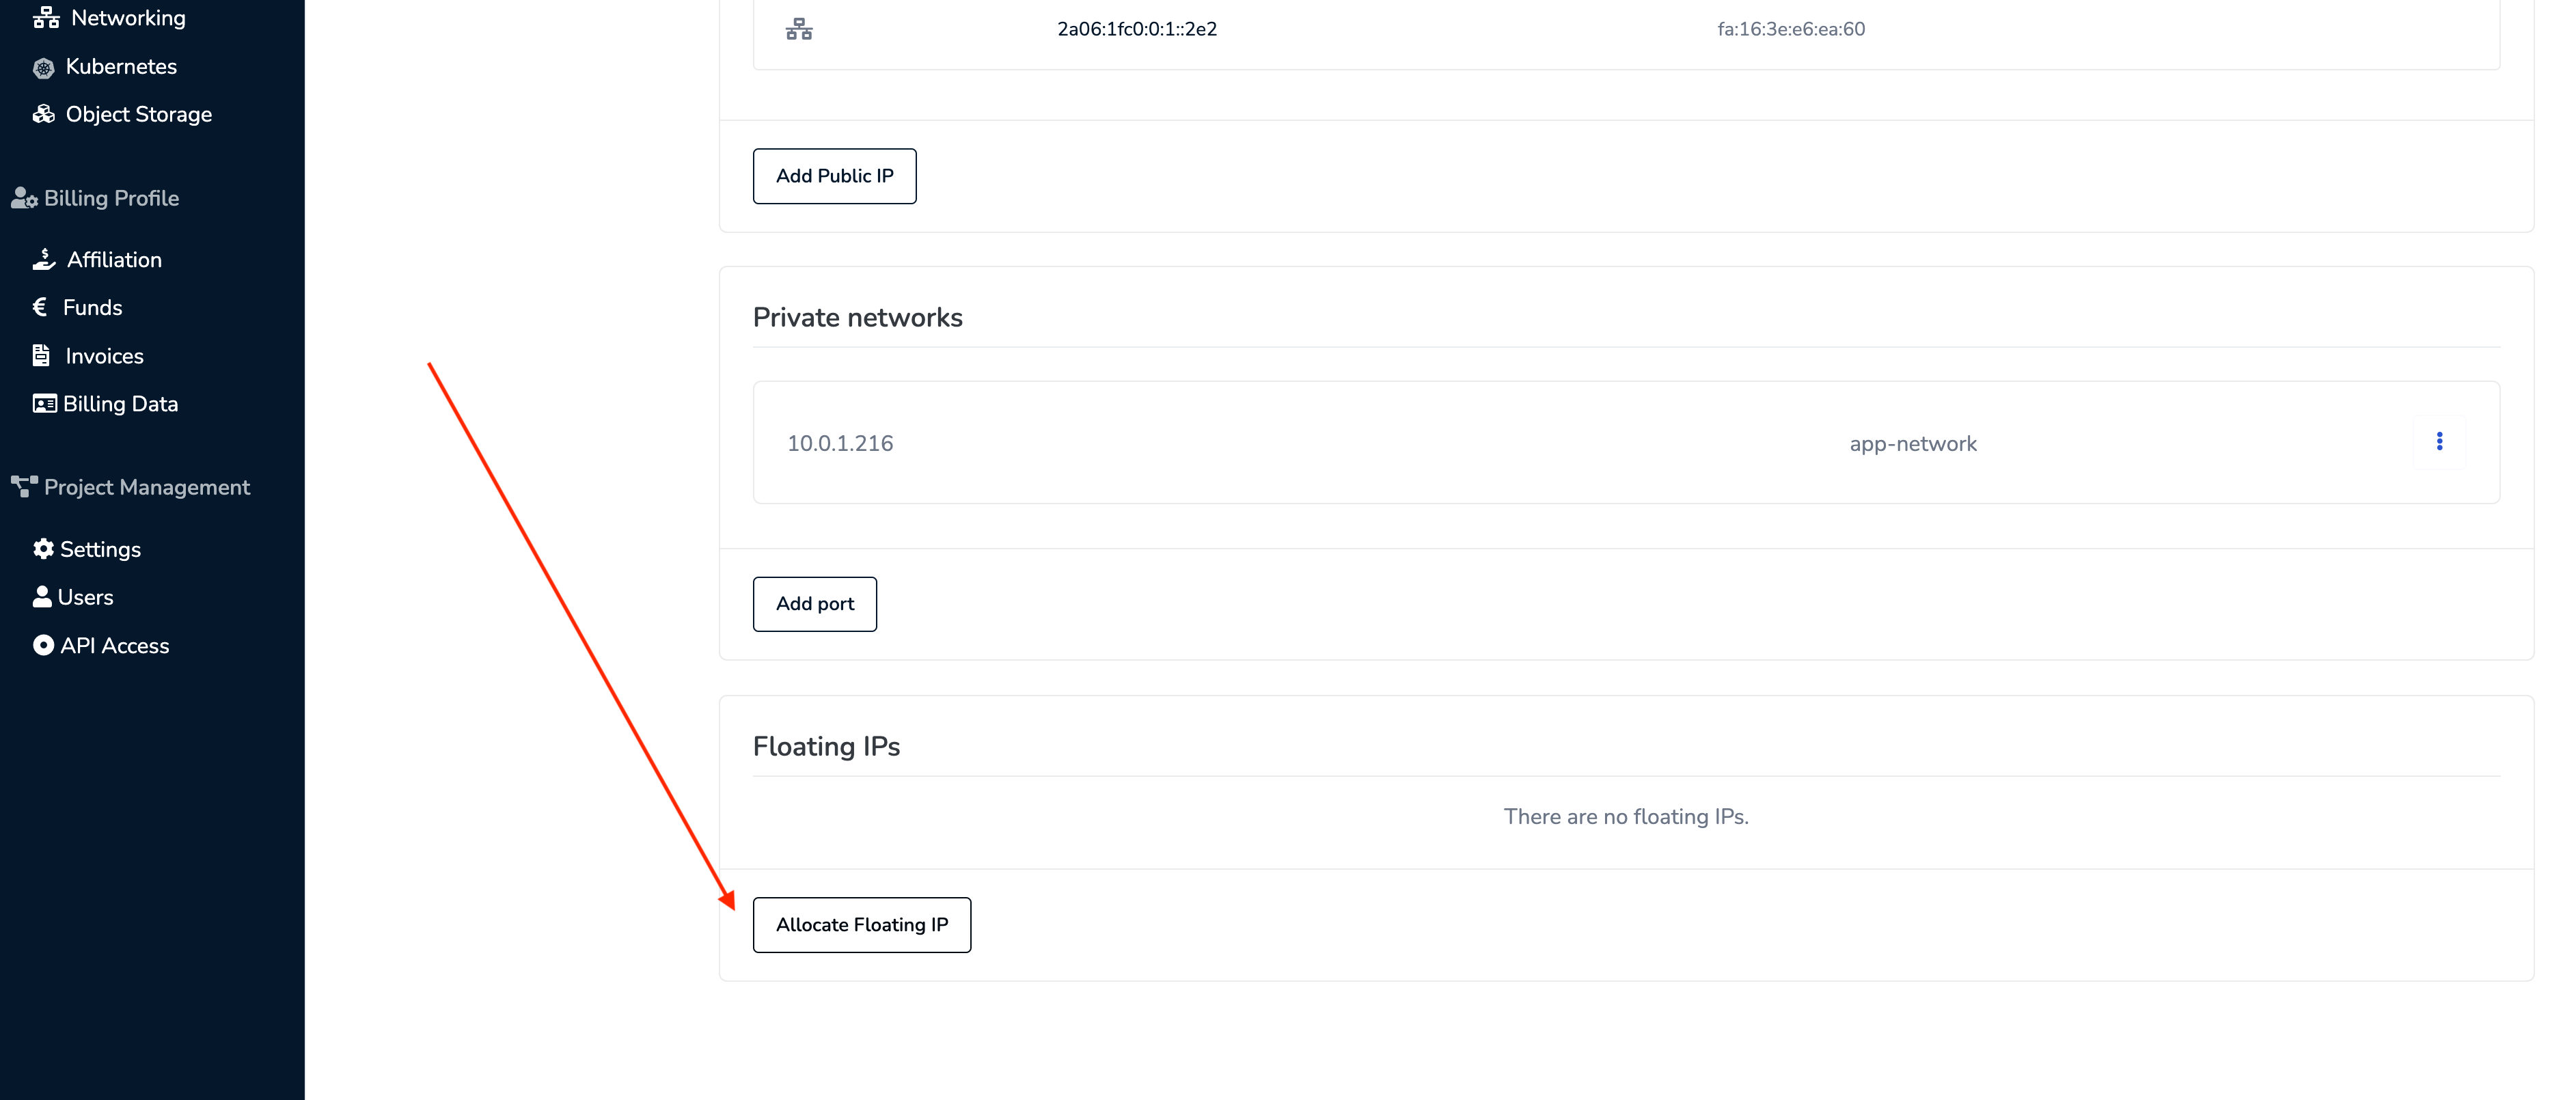
Navigate to your server, then click on the Networking submenu and find the "Floating IPs" section on the bottom of the page.
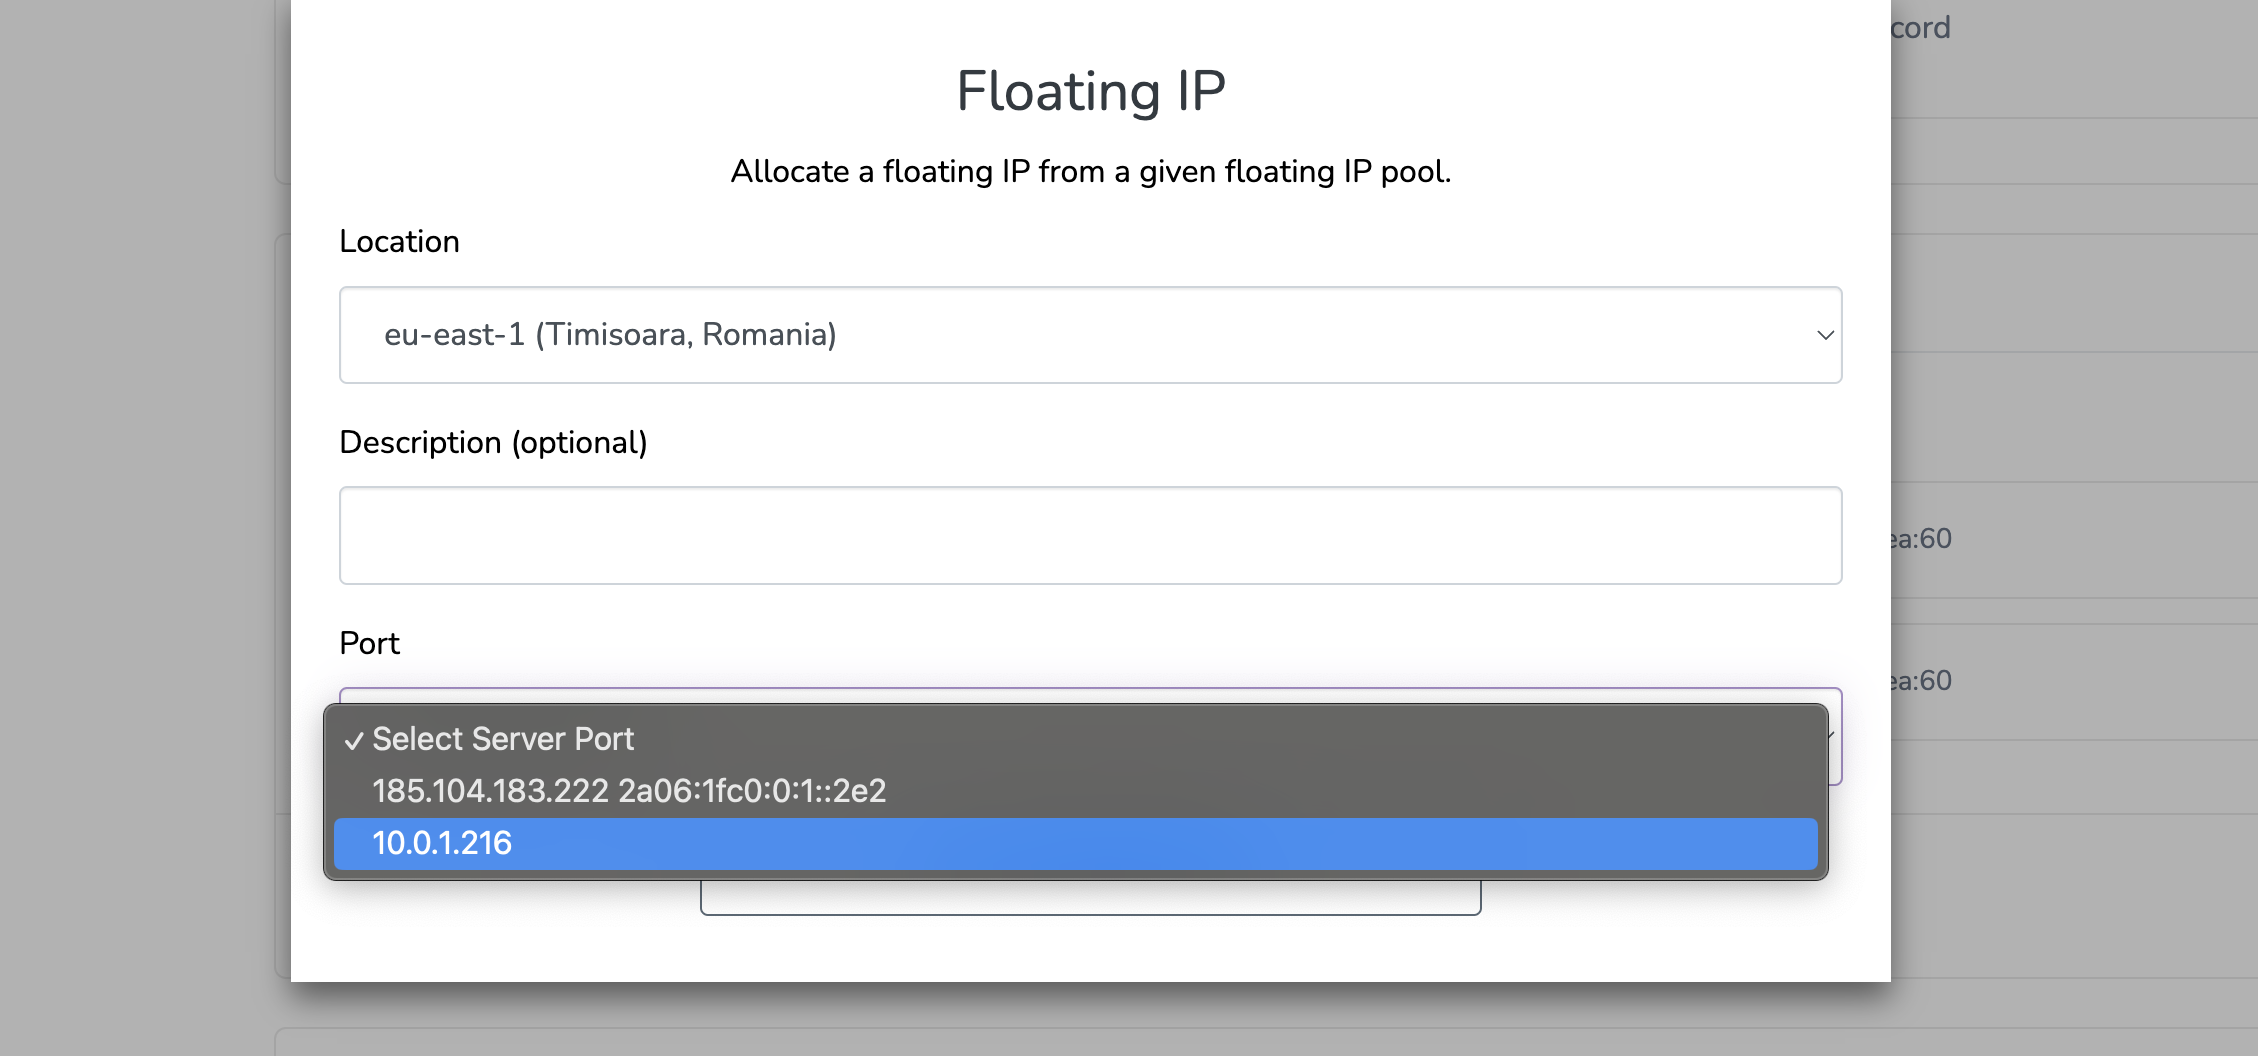
Attach the new floating IP to the private interface.
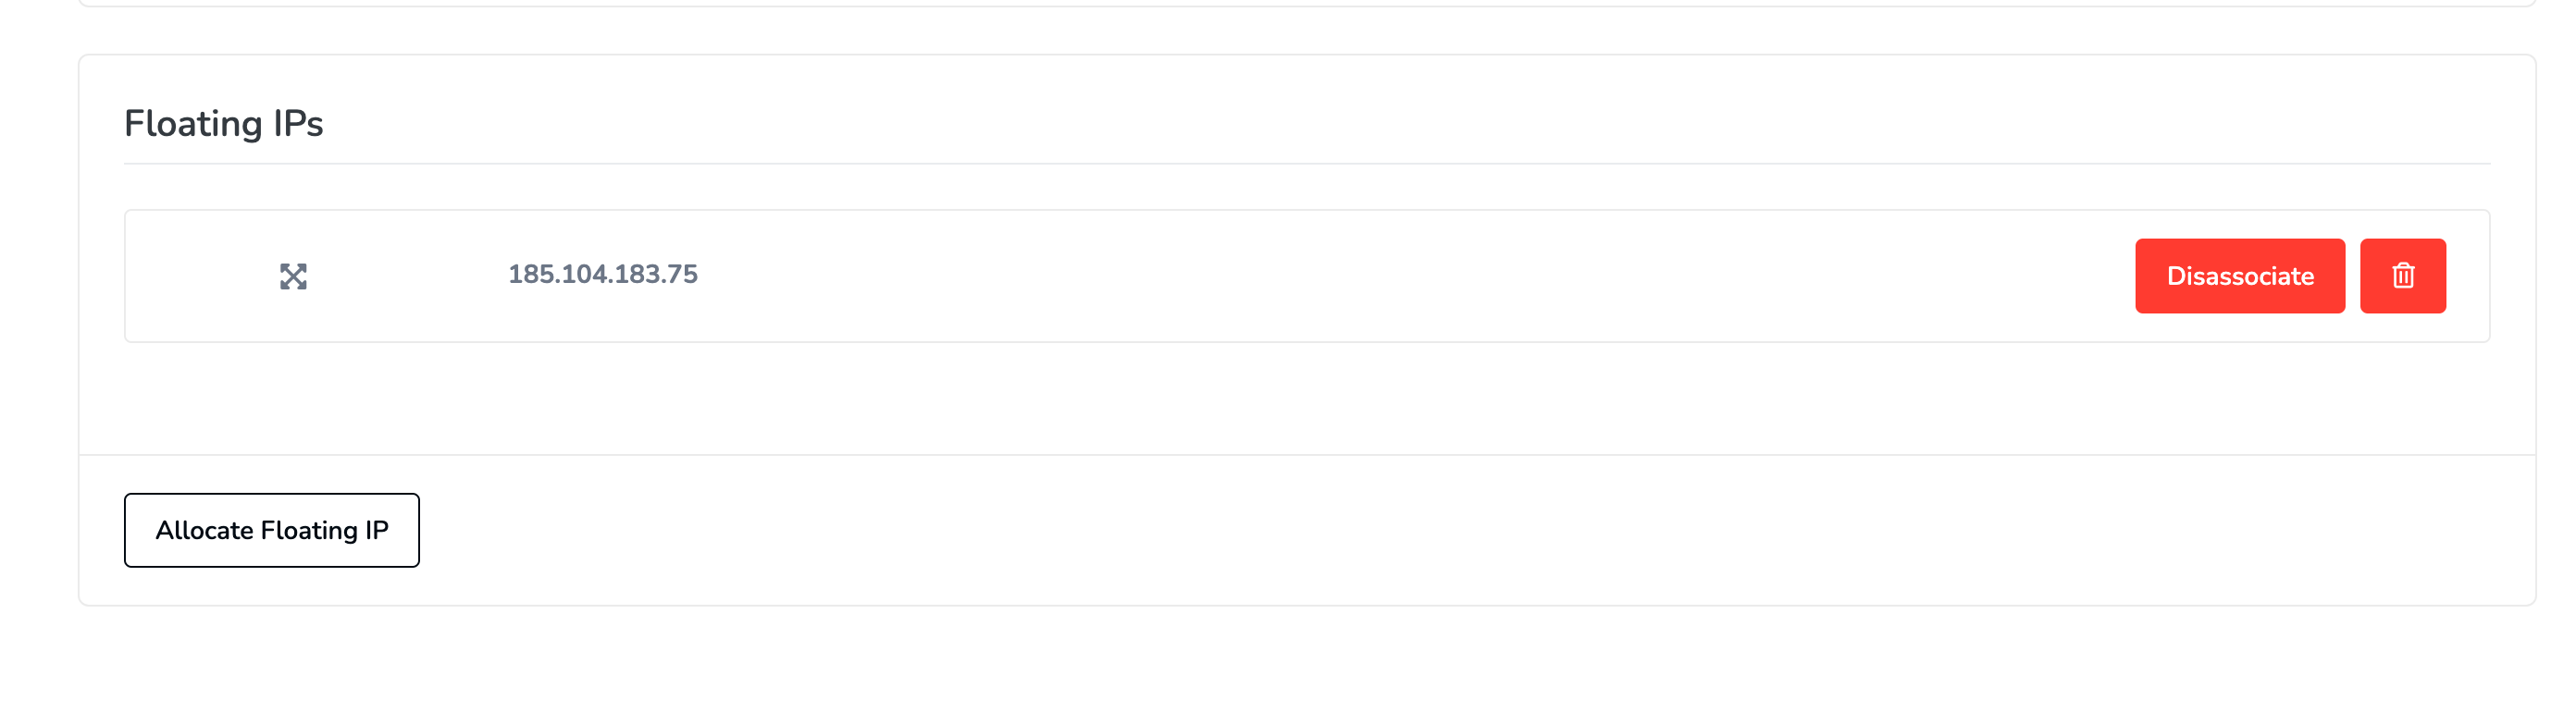
Now you can see the new floating IP that's been allocated and is now attached to your server.
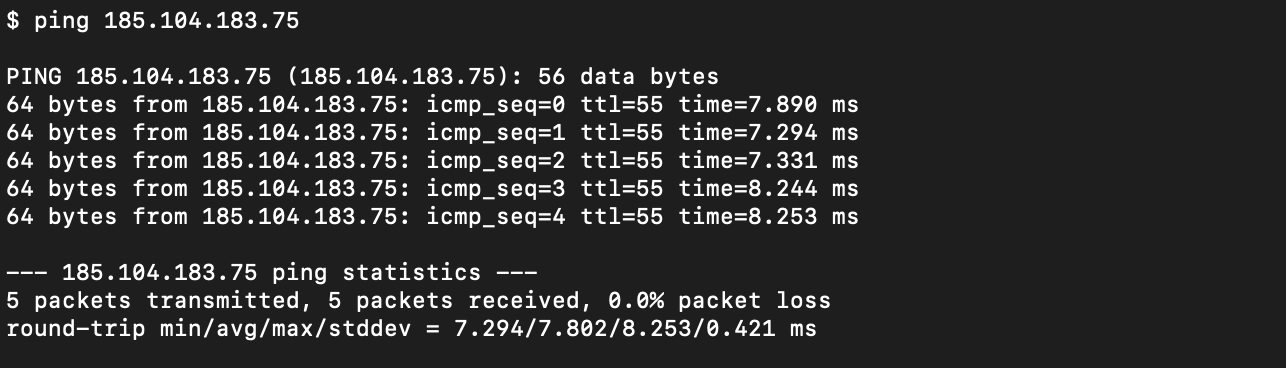
4. Verify the operation#
Let's verify that we can ping our newly allocated Floating IP.